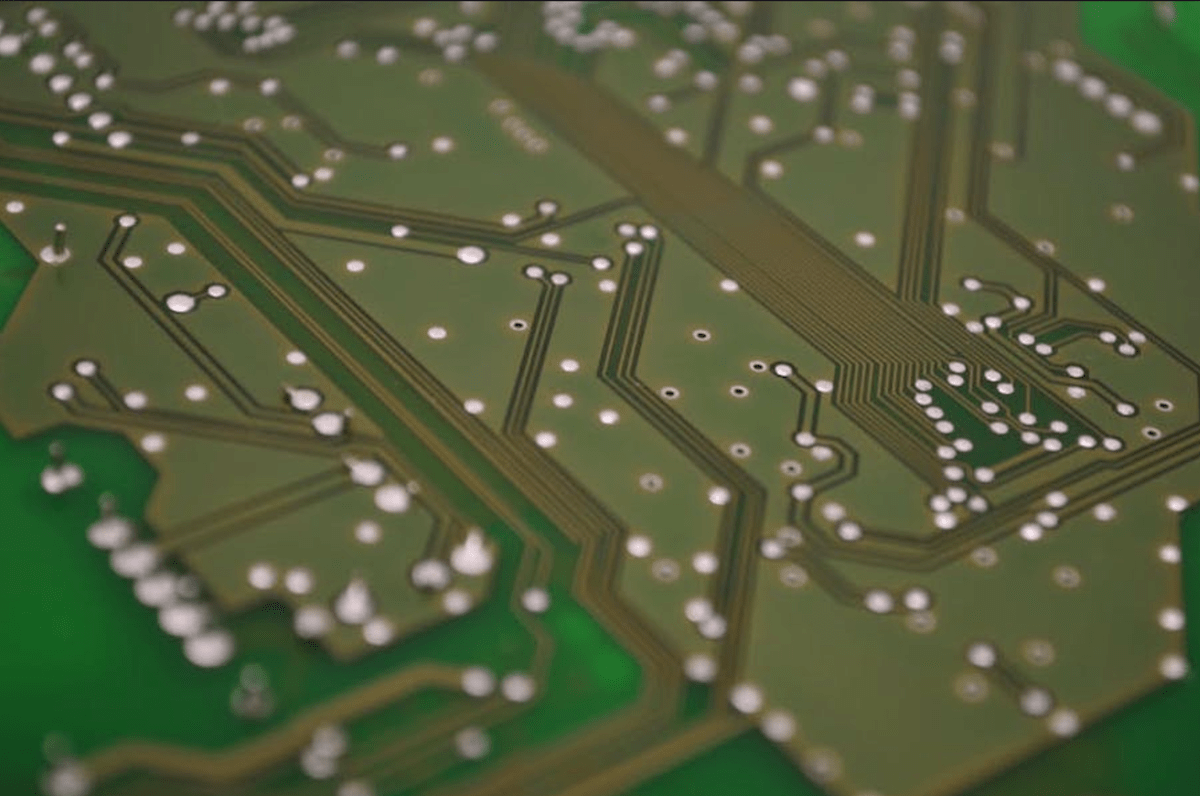
Printed circuit boards are everywhere. In an increasingly digitized and automized world, these electronic components are found in tons of devices.
From beepers and pagers to radios, and computer systems, they’re integral to the devices we take from granted. PCB equipment ensures operations run smoothly across a variety of industries.
So, it’s no wonder that despite the pandemic, demand for these parts remains high.
Interestingly, when a large number of PCBs are required, the components aren’t soldered by hand. Instead, manufacturers use professional assembly equipment to manufacture the PCBs.
With all that in mind, we’ll look at how these small devices that keep our electronics thinking and running are made.
Let’s dive in!
The Four Stages of PCB Assembly
There are four surface mount technology assemblies (SMT) in the assembly of these miniature electronic brains. These follow the reflow method and consist of the following:
- Paste application
- Automated component placement
- Soldering
- Inspection
In some cases, a testing stage is also required.
Below is the basic PCB assembly equipment commonly used for PCB assembly during each stage.
1. PCB Paste Application
The first step in assembling PCBs is to apply a solder paste onto the board. This is a gray-colored paste made from tiny particles of various metal alloys. Usually, this consists of tin, lead, and silver.
It functions as a type of glue that can hold the completed board together. Without this paste, components wouldn’t stick.
Before the paste can be applied, a stencil is placed on top of the board. This PCB stencil is a thin stainless steel sheet with small laser-cut holes. Then the solder paste is applied onto the board where the components are going to go.
The Solder Paste Printing Machine
The first significant piece of PCB assembly equipment is the Solder Paste Printing Machine. This machine holds the PCB locked in place in the automated paste printer. Then, using proper amounts, a squeegee applies solder paste on the pads.
Next, a blade drags across the stencil and spreads the solder paste evenly in the holes so only the areas of later contact get a layer of the glue. The stencil is removed by the machine after.
If all goes well, the solder paste should be where the components will be placed later.
The Solder Paste Inspection (SPI) Machine
SMD soldering issues are often traced to cheap solder paste printing. Any mistakes at this step can mean the assembly is not as reliable or robust as it should be.
Therefore, the next step is to inspect that the solder paste is appropriately printed onto the board using an SPI machine.
The SPI machine uses cameras to capture 3D images and evaluate the solder paste through solder volume, alignment, and height. It can also identify unsuitable sizes and imperfections so manufacturers can correct them.
2. Automated Component Placement
Now, let’s move on to the second step…
With the board prepared, the components need to be placed accurately. PCBs often carry thousands of minuscule components. This task used to be done by hand with tweezers.
These days, machines can place thousands of parts at speed and with improved accuracy.
The Pick and Place Machine
This machine picks components and places them on the board. It’s perhaps the most obvious step of the assembly process and the most fruitful to observe. Traditionally, this stage was painstakingly done by hand using tweezers.
But thanks to progress in technology, manufacturers have now automated this step. The machine suctions up SMT components and places them accurately on top of the solder paste in the pre-programmed positions.
They’re put down at high speeds, placing up to 30,000 components an hour.
3. PCB Soldering
Once the components are all in place, they must be firmly attached to the board. This occurs during soldering, where a ‘solder’ material is melted to form conductive connections between the parts and their pads.
Let’s explore this in more detail:
The Reflow Soldering Machine
With all of the tiny components in place for SMT components or a surface mount, it’s the job of the reflow soldering machine to melt the solder paste. This hardens to form secure electrical connections between the elements and their pads.
Reflow soldering is the most popular technique for PCB assembly. The board moves along a conveyor through a long oven; the PCB travels through zones at controlled temperatures.
4. Inspection
Last but not least, the final stage: Inspection.
Once the board is completed, manufacturers must ensure that no parts are faulty and that the board works as intended. This means checking for performance as well as interrupted electrical connections.
Automated Optical Inspection (AOI)
Subsequently, the assembled boards are inspected and tested. Automatic optical inspection systems detect problems early in the production process. They use high-definition cameras to capture the board’s surface and build up an image for analysis.
The image is compared with those of a previously correct reference board. Through such comparison, any defects or differences are highlighted. The AOI can determine incorrect and missing components, as well as shorts and scratches.
In-Circuit Testing (ICT)
This test is carried out using a fixture called the ‘bed of nails.’ It’s one of the most commonly recognized ways to test a PCB board’s functionality.
The bed of nails consists of spring-loaded pogo pins. These are arranged so that each pin contacts a node in the circuitry of the PCB. Completed boards are placed on these pins and pressed down so it connects with hundreds of test points simultaneously.
Through these connections, the bed of nails rapidly transmits test signals in and out of the PCB. This evaluates its performance and detects any breaks in the electrical continuity.
Using this method, boards tested may feature small dimples on the soldering connections from where the sharp tips have made contact.
This is a good sign, as it indicates the manufacturer conducted proper investigations into the functionality of the boards.
Are You Ready to Manufacture Affordable PCB Equipment?
Now you have a better idea about what PCB assembly equipment is needed to assemble the small electronic boards that keep our computer systems running.
If you’re producing small numbers of boards, not all of these stages are necessary. Larger manufacturers can provide faster and more reliable service when they utilize careful inspection to guarantee quality. Imagineering Inc. can manufacture printed circuit boards efficiently and affordably. We offer all order sizes and can help your firm navigate the current global climate through reliable production. Contact us today to find out more!


