
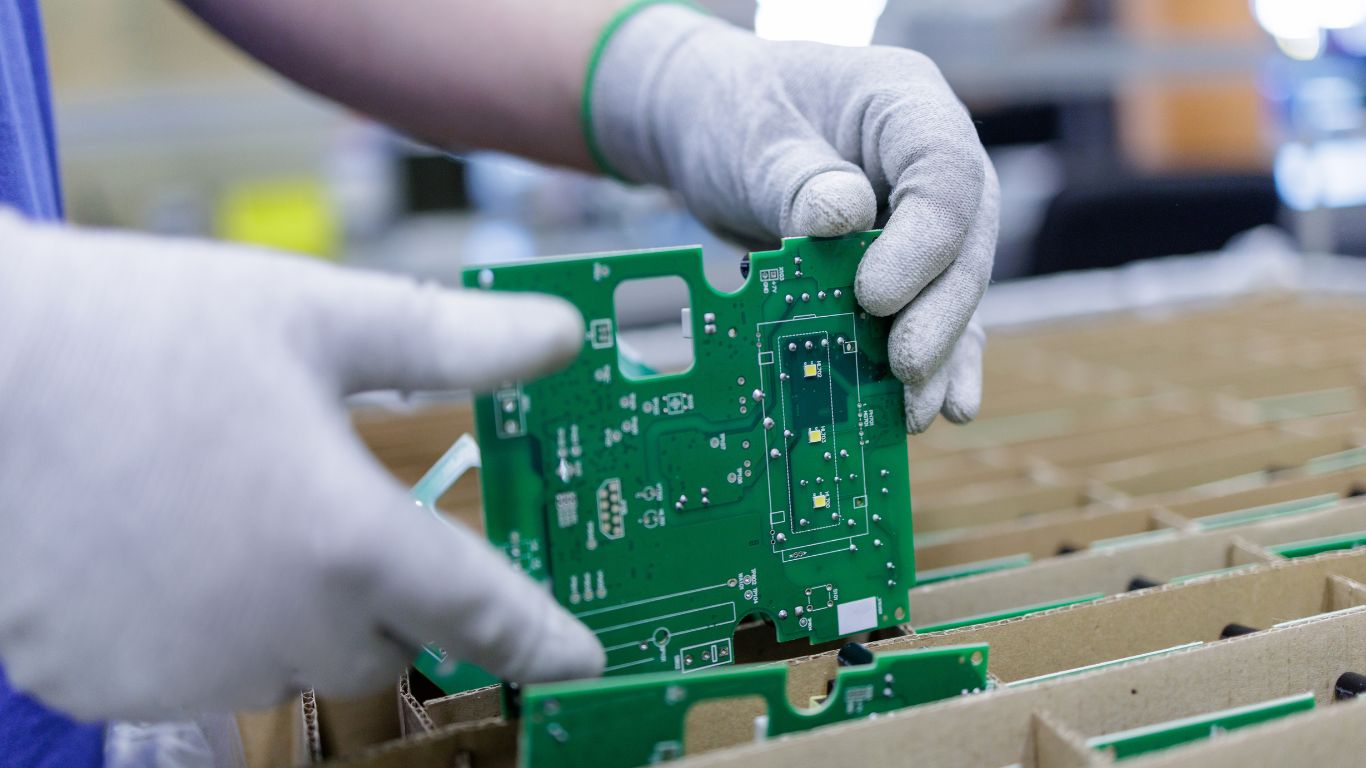
Printed circuit boards are built for durability, but they’re not immune to failure. Over time, heat, electrical stress, and environmental factors can degrade performance until small issues turn into major disruptions. In commercial applications, knowing when to replace a PCB is a business-critical decision.
In this guide, we’ll walk through the most common warning signs that your PCB may be reaching the end of its lifecycle:
- Overheating or visible burn damage
- Power instability or unexpected shutdowns
- Intermittent or inconsistent performance
- Physical damage or corrosion
- Recurring electrical failures
What follows are 5 questions to help you decide whether replacement is the correct path forward.
Sign #1: Is Your PCB Overheating or Showing Burn Damage?
Persistent overheating or visible burn damage is one of the clearest signs your PCB is approaching failure and likely needs to be replaced. When a board runs hotter than expected or shows physical signs of heat stress, the issue is rarely isolated. It usually points to deeper electrical or material degradation.
Heat is cumulative. What starts as a minor thermal imbalance can evolve into widespread instability across the board. In production environments, this kind of degradation compromises reliability at scale.
Common indicators include:
- Darkened or discolored areas on the board surface
- Burn marks or charred components near power-intensive zones
- Warping or slight deformation of the PCB substrate
- Hot spots detected during operation or thermal imaging
These symptoms suggest the board has been operating outside safe limits for too long. Once heat damage becomes visible, the structural integrity of the PCB is already compromised. At that point, replacement is typically the safer and more predictable option.
2: Are You Experiencing Power Failures or Instability?
Frequent power issues are a strong indicator that your PCB may need to be replaced, especially when the root cause traces back to the board itself. Power-related failures tend to escalate. What begins as a minor voltage fluctuation can evolve into full system instability as traces degrade, components weaken, or internal connections fail.
When diagnosing power instability, look for patterns like:
- Devices failing to power on consistently
- Random shutdowns under normal load conditions
- Voltage drops or irregular power delivery
- Repeated failure of power-related components (fuses, regulators, capacitors)
These signs suggest that the PCB can no longer reliably manage current flow. In many cases, the issue extends beyond a single component and reflects broader structural degradation. When power integrity is compromised, replacing the PCB is often the most reliable way to restore stable performance.
3: Is Your System Behaving Inconsistently or Intermittently?
These failures are often caused by microscopic defects that worsen over time. Thermal cycling, vibration, and material fatigue can create tiny cracks in solder joints or traces. At first, these defects only disrupt performance under certain conditions. Eventually, they become permanent failures.
You can usually identify this type of failure by watching for patterns like:
- Random system crashes or unexpected resets
- Features or components working inconsistently
- Performance changes based on temperature or movement
- Systems that temporarily recover after restarting
These symptoms indicate that electrical continuity is no longer reliable across the board. While they may seem minor at first, intermittent issues are difficult to diagnose and even harder to stabilize long-term. In most cases, replacing the PCB is the only way to restore consistent, predictable performance.
4: Is There Visible Physical Damage or Corrosion?
Unlike intermittent or electrical issues, physical damage is often irreversible. Cracks, bending, or delamination can disrupt internal layers that aren’t visible from the surface. Corrosion introduces another layer of risk by gradually degrading conductive pathways and component leads. In both cases, the board’s integrity is compromised at a foundational level.
When inspecting a PCB, focus on clear, observable warning signs:
- Cracks, chips, or bending in the board structure
- Delamination or separation between layers
- Corrosion or residue buildup around traces and components
- Bulging or leaking capacitors indicate component failure
These issues rarely exist in isolation. Once physical degradation begins, it tends to spread and accelerate under normal operating conditions. At that point, replacement is the most reliable path forward.
5: Are You Dealing With Recurring Shorts or Multiple Component Failures?
Over time, electrical pathways can weaken or unintentionally connect, creating unstable conditions across the board. In commercial environments, this leads to unpredictable performance and repeated downtime, even after components are replaced.
If you’re seeing repeated issues, look for patterns like:
- Frequent short circuits or blown fuses
- Open circuits cause signal or power loss
- Multiple components failing over time
- Inconsistent readings during continuity testing
These symptoms suggest that the PCB can no longer maintain proper electrical isolation or connectivity. At this stage, replacing individual components won’t solve the root problem. A full PCB replacement is typically the only way to restore long-term reliability.
How to Replace Your PCB in a Commercial Environment
Replacing a PCB in a commercial setting is a structured process focused on restoring reliability, not just swapping out hardware. The goal is to identify the root causes of failure, improve the design where needed, and move into production with confidence.
Unlike small-scale fixes, PCB replacement at this level involves coordination between engineering, procurement, and a manufacturing partner. Done correctly, it’s an opportunity to eliminate recurring issues and strengthen overall system performance.
Here’s what the replacement process typically looks like:
- Document failure patterns and system requirements – Capture what’s going wrong, how often, and under what conditions.
- Gather and validate design data – Provide updated schematics, Gerber files, and a complete bill of materials (BOM).
- Evaluate design and material improvements – Address thermal management, trace layout, and material selection to prevent repeat failures.
- Partner with a qualified PCB manufacturer – Move into fabrication and assembly with a focus on quality and consistency.
- Test and validate before full deployment – Confirm performance through inspection and functional testing.
When approached strategically, PCB replacement positions your system for more stable, long-term performance.
How to Replace Your PCB for Better Performance with Imagineering
PCBs rarely fail without warning. From overheating and power instability to visible damage and recurring faults, the signs tend to build over time. Recognizing these patterns early allows you to act before performance, safety, or production output is impacted.
Replacing a PCB is more than a fix. It’s a chance to improve reliability, refine your design, and prevent future issues from taking root. With the right manufacturing partner, the process becomes strategic rather than reactive.
If your system is showing any of these warning signs, it may be time to take the next step. Partnering with Imagineering can help you move from uncertainty to a high-quality PCB solution built for long-term performance.
Quick Summary
Printed circuit boards often show clear warning signs before failure, including overheating, power instability, intermittent performance, physical damage, and recurring electrical faults. Recognizing these patterns early helps prevent costly downtime and system failure. This guide explains how to identify these issues and outlines a structured approach to replacing your PCB for long-term reliability.
PCB Replacement FAQS
Q1: How do I know if my PCB needs to be replaced instead of maintained?
If failures are recurring, widespread, or affecting core functionality, replacement is usually the better option. Consistent issues often indicate structural degradation rather than isolated faults.
Q2: What causes PCBs to fail over time?
Common causes include heat stress, electrical overload, environmental exposure, and material fatigue. These factors gradually weaken the board’s structure and connections.
Q3: What is involved in replacing a PCB?
Replacing a PCB typically involves reviewing failure data, updating design files, and working with a manufacturer to produce a new board. Testing and validation ensure the new PCB meets performance requirements.